

DIY Motorized Camera Slider Build Guide
There’s a video under post-processing about a camera slider that I’ve built out of broken 3D Printer parts.
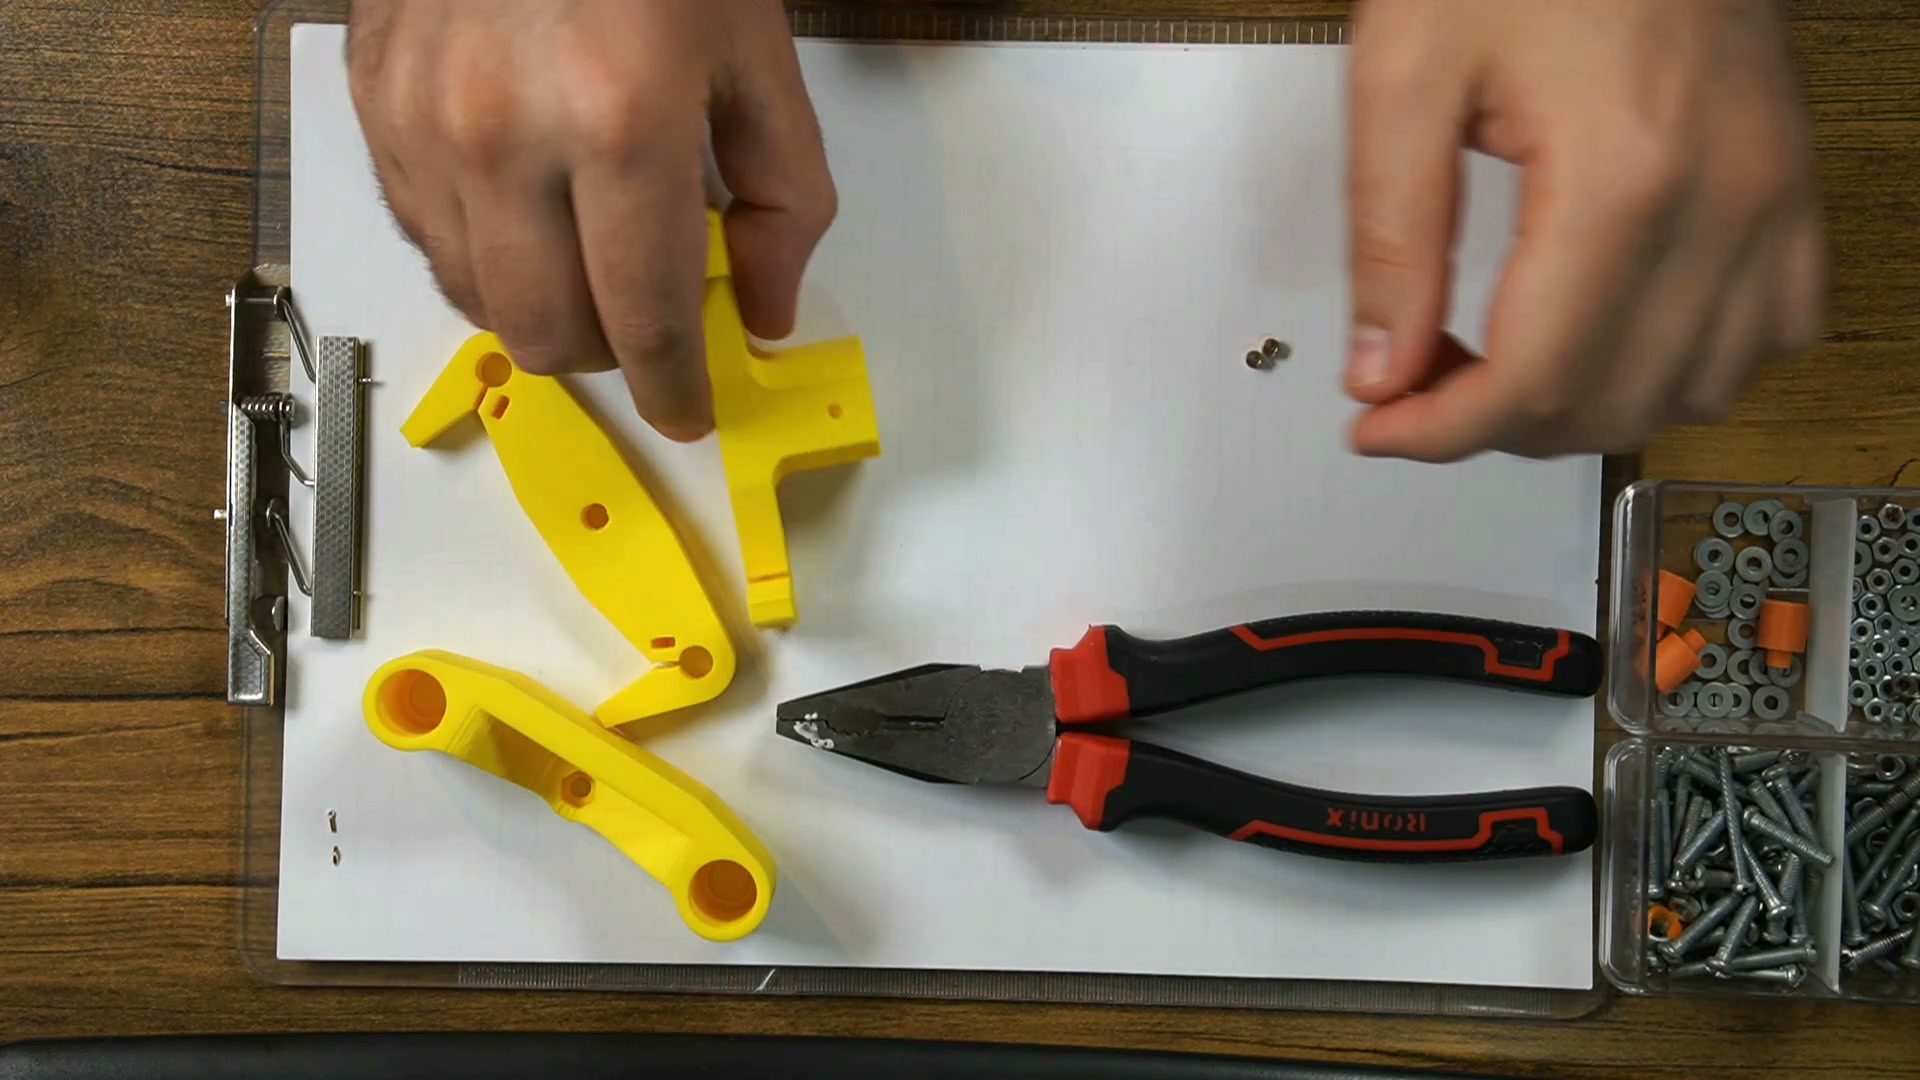
Parts Used
This project repurposes components from a broken 3D printer:
- Stepper motors from 3D printer
- Linear rails and bearings
- Aluminum extrusion frame
- Arduino controller
- Motor driver (A4988 or similar)
- Power supply
- Belt and pulleys
Assembly Overview
The slider uses the linear rails for smooth motion, driven by a stepper motor through a belt drive system. The Arduino controls the motor driver for precise movement control. This modular approach is similar to the direct shaft coupling design where custom 3D printed parts replace stock components.
Motorization Setup
Connect the stepper motor to the motor driver, then to the Arduino. Program the Arduino for speed and distance control. The slider can be used for timelapse photography and smooth video shots.